1/31/13

January ~ family and sewing

The Lord blessed me with a new grandson this month. He had a slightly bumpy start but is doing well now. Here he is with  his 2 brothers and my husband (PaPa).

PaPa and I have gotten to spend some time with with Anthony and Brady at the park in Floridatown.


The boys loved walking by the water and riding the plane.
 
I have gotten a small amount of sewing in
 
HOF for a TBL2 friend's new great granddaughter
 
 
A pillow cushion cover for a 1 on 1 swap in TBL2 group swap
 
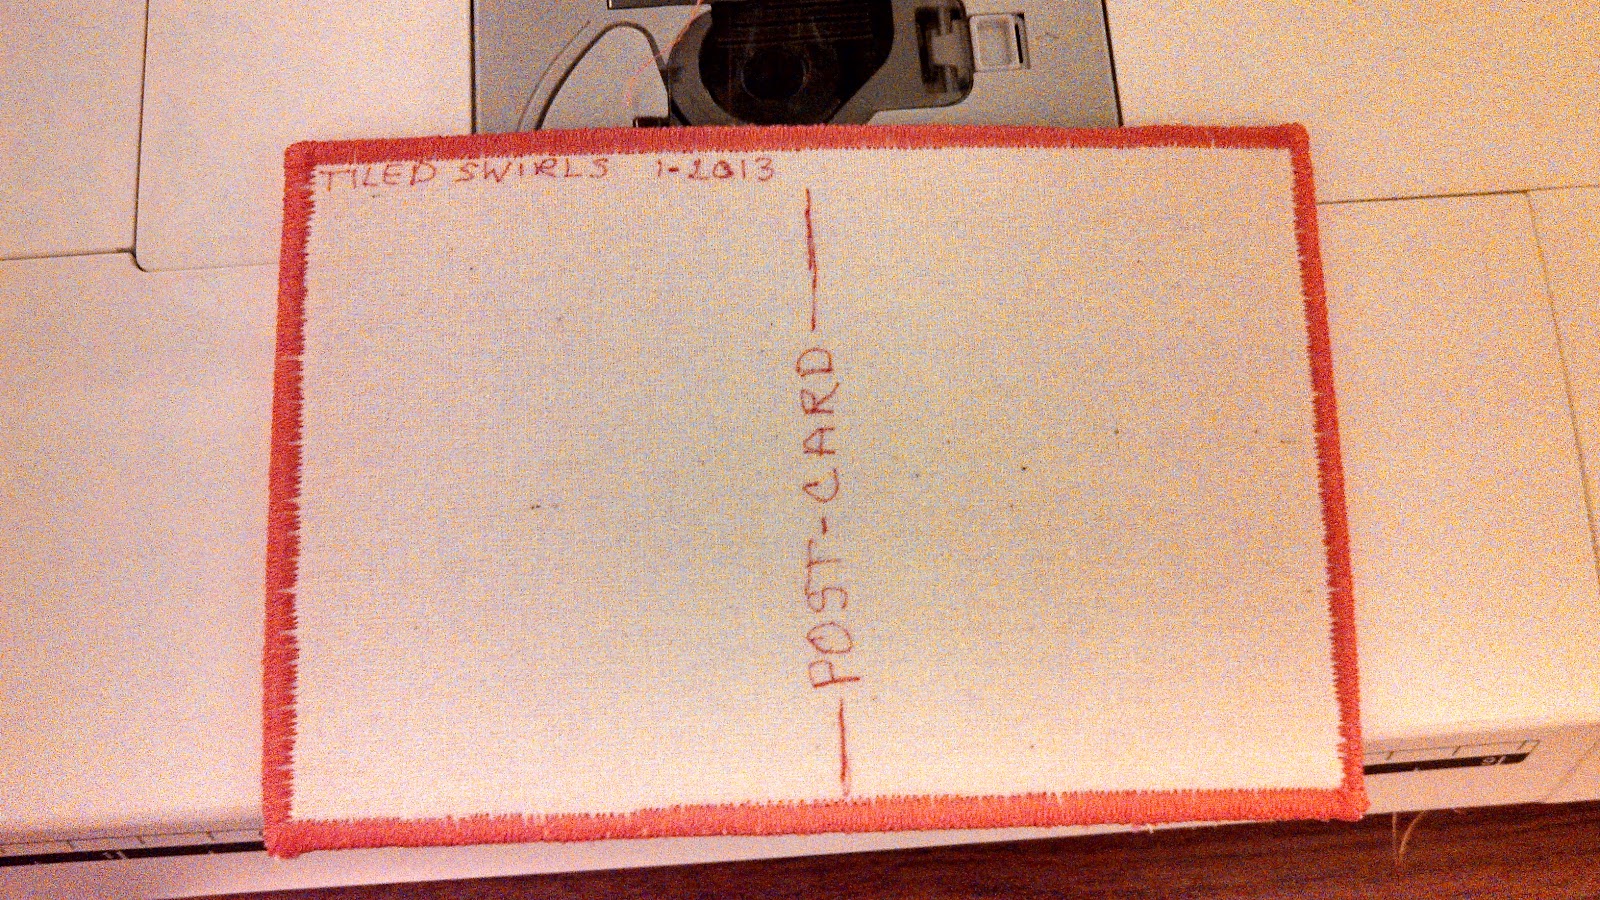
Two post cards for swaps
 
This one is for the FMQ PC swap
it features trapunto the flower is puffed up.

 
This one is for the Feb PC swap for TBL2 and features Stupendous Stitching
 
 
Last is my ufo project for January. It is Grant's baby quilt. It will not be finished for January but maybe in the next couple of days. I made the blocks with my local Little Red Hens bee a couple of years ago. A few days before Grant was born I decided to make a quilt for him with the blocks. I finished the top before he was born and basted the layers on his birth day (12th). I have been hand quilting it as I can since. 2 more blocks and the border to quilt and then the binding.
 
Thank you for stopping by and taking a peep into my life.
Tina


Every wise woman buildeth her house: but the foolish plucketh it down with her hands.
Proverbs 14:1


1/11/13

FMQ Post Card


Free Motion Quilting Post Card

For those that are interested in making postcards from their FMQ samples I will try to show you how easy it is to do. Here is my sample I am going to use.
   This was my Tiles sample from July that AngelaWalters taught at Sew Cal Gal. Click on names to find out more.


Next I rough cut my piece to about 4 ½” x 6 ½”
Also cut a piece of muslin and with my stiff inside (I am using Floriani Stitch and Shape double side fusible) I have used a heavy interfacing and steam a seam in the past.
Next, I ironed my muslin to the back of the stabilizer
 and my sample to the front side.
Then I trim my post card to 4” x 6”
 Next I satin stitched around the edge with a narrow stitch.
 I then stitch around it again once or twice with a wider satin stitch. It doesn’t have to be done this way. It is just how I do it.


 I then do any final details.
 And then finish the back.


A few more post cards I have made.


1/5/13

Bonus FMQ by Teri Lucus


December's bonus free motion quilting at SewCalGal was given by Teri Lucus. It was on using a software program Kaleidoscope Kreator 3 Software and its feathered package. It looks like it would be fun to use. Teri/SewCalGal provided a pdf to print out to do the challenge, but I don’t have the extra ink. So I printed out the outline drawing and then enlarged the print. I was going to use it to do my piece. But then I decided to go back and read the tutorial again. In the very last part it has handout with instructions to create feathers I used this and folded my piece of paper for a snowflake. Then I drew my feather on one sixth of the snowflake.

 Then I took my fabric and folded it into quarters and pressed it. Next, I took and traced the section on my fabric six times giving me a beautiful spiral of feathers. Not exactly sure it is a kaleidoscope of feathers. Then layered and quilted my piece.


This is the front with some of  
 
the tracing showing.


Back of my piece.
Thank you SewCalGal and Teri.
I have had a blast with this tutorial.