Thank you SewCalGal, tutors and fellow free motion quilting quilters. My first insight is that I must do some fmq at least weekly and preferably 4 - 5 times a week. I found post cards are good size to stay warmed up and to practice old and new techniques. Also, I have gotten to where I really realize I don't have to hold and stretch my piece so taunt and small movements are best done with finger tips
.
This was one of my projects for Susan Brubaker Knapp bonus tutorial. I felt that my piece had not clearly represent my photo and was too clutter.
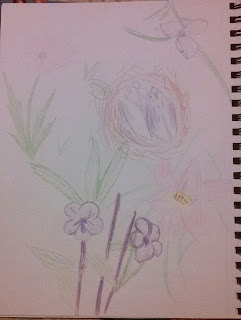
For my project this year I decided to trace the parts from my photo with a light box I wanted and then I played and drawed and altered and combined another view of my Mexican petunia. Then I traced the drawing on a piece of paper and the onto my fabric. Last year I had stitched my design on through my paper tracing and hated trying to get all the tidbits of paper off.
On this piece I continued to use the trapunto my blooms and leaves. That I learned from Diane Loomis bonus tutorial.
I love to use trupunto on my Post Cards I love the way it pops. My piece for last year had cut too close to my initial stitching through my top fabric and have learned to be more careful trimming.
Last years piece
Last year my fmq Feathers had such a large improvement due to Diane Gaurdynski
You can read about it
here
My improvement is more fluid and varied. Thank you Teri Lucus and Joanne Of Thread Head for additional tutorials
I love playing with the feathers and embellishing them.
Last year borders by Patsy Thompson.
I figured the first part of my improvement needed to be that I completed last years project.
I also applied multi borders to post cards and quilts
My Piece for this years Patsy's Border Challenge
learning to design and practice. I love the final border using Cindy Needham repetitive lines in the final checkerboard border.
Using stencils and stitching on lines and embellishing and adding
And Leaves on border
And although my quilting isn't as good as a friend said
Look like a quilt that was quilted by the computer driven design
It sure made me feel good. I look forward to more free motion quilting.


